Introduction
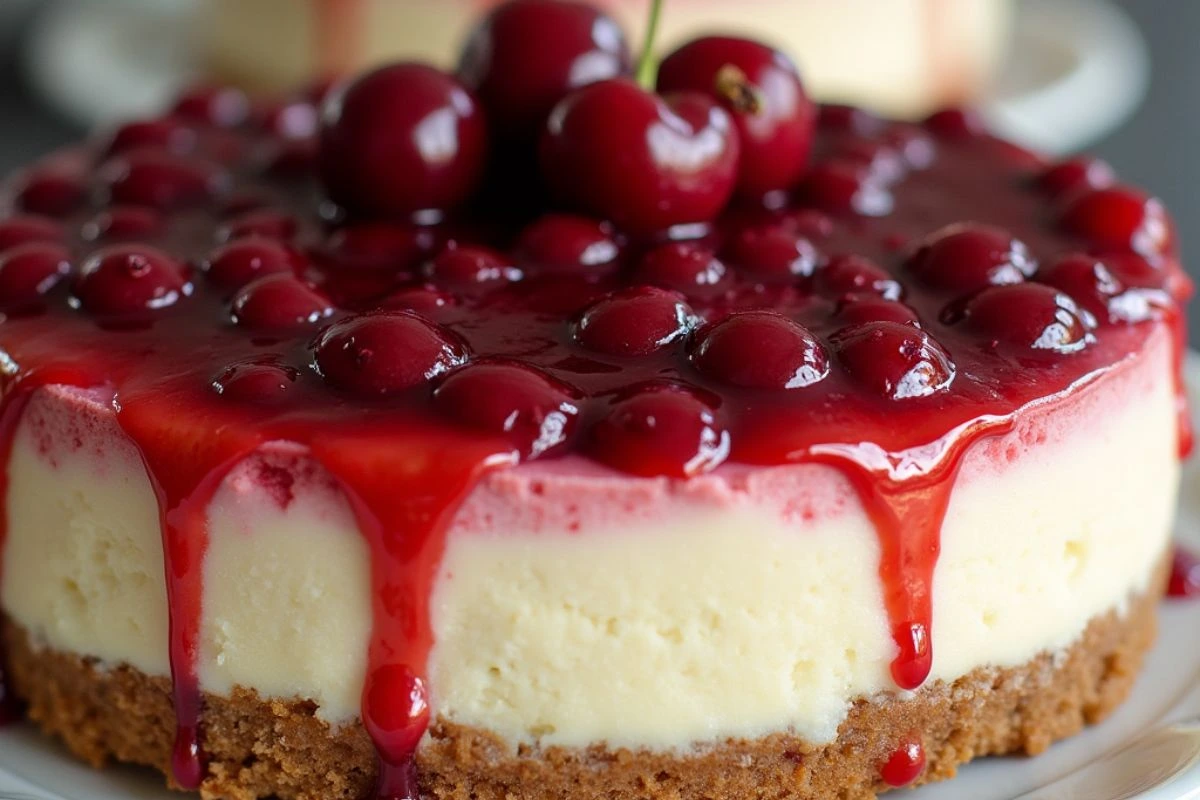
Have you ever experienced the pure bliss of indulging in a slice of creamy cheesecake topped with sweet, tangy cherries? If not, you’re in for a treat! The cherry cheesecake recipe is a classic dessert that seamlessly blends the rich texture of cream cheese with the vibrant flavor of cherries. This dessert not only pleases the palate but also captures the hearts of everyone who has the pleasure of tasting it.
Cherry cheesecake is a versatile dessert that can be enjoyed year-round. It’s a crowd-pleaser at birthdays, holidays, potlucks, and dinner parties, making it a staple in many households. The combination of a buttery graham cracker crust, a smooth cream cheese filling, and a luscious cherry topping creates an irresistible treat that’s both beautiful and delicious.
In this guide, we’ll take you through every step of the process of crafting the perfect cherry cheesecake. Whether you’re a novice in the kitchen or a seasoned baker, this recipe is designed to be easy to follow and rewarding to make. We’ll also explore variations, tips for success, and answers to common questions, ensuring you feel confident in your baking journey. Let’s get started!
Recipe Card
Recipe Name: Classic Cherry Cheesecake
Description: A creamy and decadent cheesecake topped with sweet cherry filling, perfect for any occasion.
- Prep Time: 30 minutes
- Cook Time: 60 minutes
- Total Time: 90 minutes (plus chilling time)
- Servings: 12 slices
- Calories: Approximately 350 calories per slice
Ingredients
For the Crust:
- 1 ½ cups graham cracker crumbs
- ½ cup granulated sugar
- ½ cup unsalted butter, melted
For the Filling:
- 4 (8-ounce) packages of cream cheese, softened (about 32 ounces total)
- 1 ¼ cups granulated sugar
- 1 teaspoon vanilla extract
- 4 large eggs
- 1 cup sour cream
- 1 tablespoon all-purpose flour (optional, helps prevent cracking)
For the Cherry Topping:
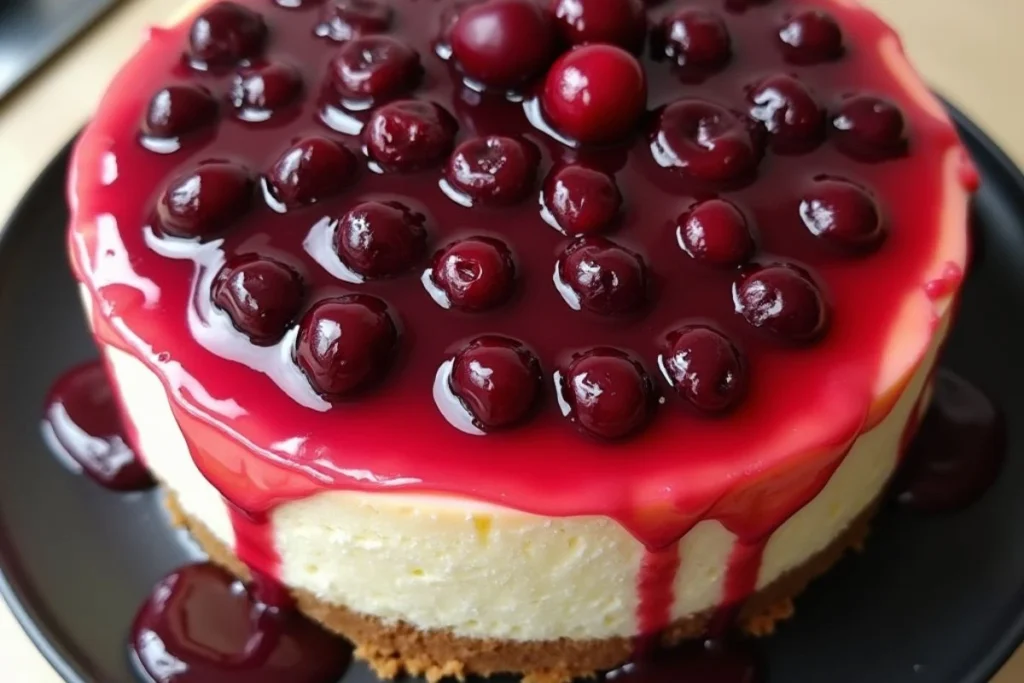
- 1 can (21 ounces) cherry pie filling or 2 cups fresh cherries, pitted and halved
- 2 tablespoons cornstarch (if using fresh cherries)
- 1 tablespoon lemon-based juice (if using fresh cherries)
- ¼ cup finely ground sugar (if using fresh cherries)
Instructions
Step 1: Preheat the Oven
Begin by preheating your oven to 325°F (160°C). This temperature is ideal for baking cheesecakes, allowing them to cook evenly without over-browning.
Step 2: Make the Crust
- Mix the Ingredients: In a mixing bowl, combine 1 ½ cups of graham cracker crumbs and ½ cup of granulated sugar. Add ½ cup of melted unsalted butter and stir until the crumbs are evenly distributed and the mixture takes on the consistency of damp sand.
- Press into the Pan: Firmly press the mixture into the bottom of a 9-inch springform pan. Use the bottom of a measuring cup or a flat-bottomed glass to pack it down evenly.
- Bake the Crust: Place the crust in the preheated oven and bake for about 10 minutes. This step helps the crust set and gives it a golden-brown color. Once baked, remove the pan from the oven and allow it to cool while you prepare the filling.
Step 3: Prepare the Filling
- Beat the Cream Cheese: In a large mixing bowl, beat 4 packages of softened cream cheese and 1 ¼ cups of granulated sugar together using an electric mixer. Start on low speed to avoid splattering, then increase to medium speed. Beat until the mixture is smooth and creamy, about 3-5 minutes.
- Add Vanilla: Mix in 1 teaspoon of vanilla extract. This adds a lovely aroma and flavor to the cheesecake.
- Incorporate Eggs: Add the eggs one at a time, mixing on low speed after each addition until just combined. It’s crucial not to overmix at this stage, as this can incorporate too much air into the batter, leading to cracks in the finished cheesecake.
- Fold in Sour Cream: Next, fold in 1 cup of sour cream until smooth. This ingredient adds richness and moisture to the cheesecake.
- Optional Flour: If you choose to use flour, add 1 tablespoon of all-purpose flour at this stage. It can help stabilize the filling, reducing the risk of cracks during baking.
Step 4: Bake the Cheesecake
- Pour the Filling: Carefully pour the cream cheese filling over the cooled crust in the springform pan. Even out the top by smoothing it with a spatula.
- Create a Water Bath: To help prevent cracks, consider using a water bath. Wrap the bottom of the springform pan in aluminum foil to prevent leaks, then place it in a larger baking dish. Pour hot water into the baking dish until it reaches about halfway up the sides of the springform pan. This method provides steam while baking, helping to maintain moisture and an even temperature.
- Bake: Bake the cheesecake for 55 to 60 minutes in a preheated oven. The edges should be set, while the center will still have a slight jiggle. Turning off the oven and cracking the door open for about an hour after baking can help the cheesecake cool slowly, further reducing the chances of cracking.
Step 5: Cool and Chill
- Cool the Cheesecake: Once baked, turn off the oven and leave the cheesecake inside with the door ajar for about an hour. The formation of surface fractures can be mitigated by this method of slow cooling.
- Refrigerate: After an hour, cover the cheesecake with plastic wrap and refrigerate for at least 4 hours, but preferably overnight. This chilling time allows the flavors to meld and the cheesecake to firm up.
Step 6: Prepare the Cherry Topping
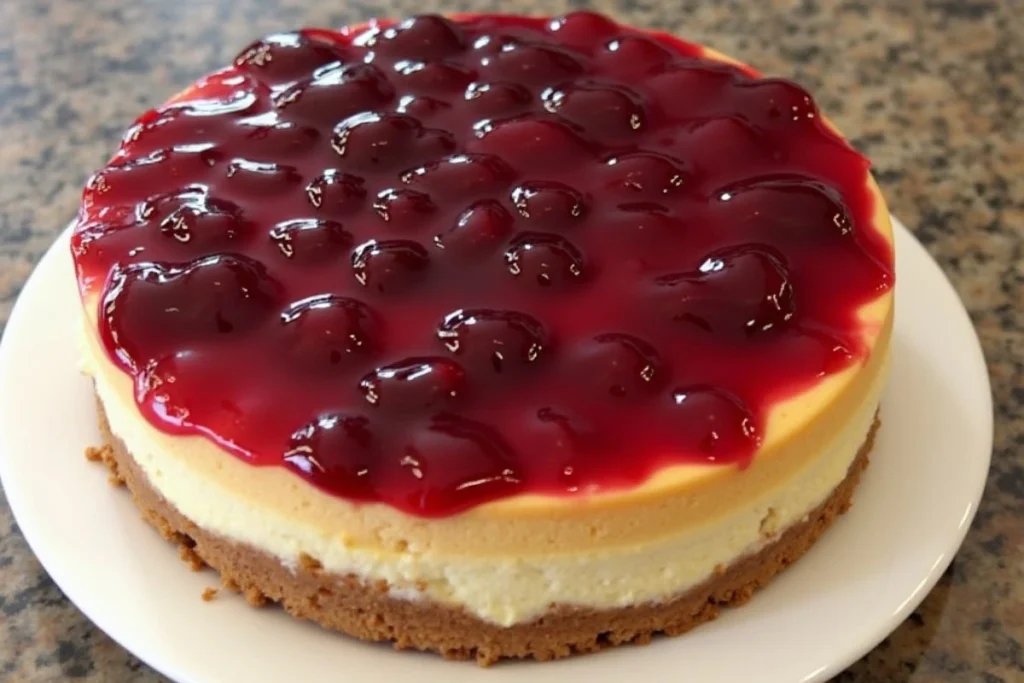
- Using Canned Cherry Pie Filling: If you’re using canned cherry pie filling, simply open the can and spoon the filling over the chilled cheesecake. Spread it evenly, making sure to cover the surface beautifully.
- Using Fresh Cherries: If you prefer fresh cherries, follow these steps:
- In a medium saucepan, combine 2 cups of pitted and halved fresh cherries, 2 tablespoons of cornstarch, 1 tablespoon of lemon juice, and ¼ cup of granulated sugar.
- Cook the mixture over medium heat, stirring gently, until it thickens and the cherries soften slightly, about 5-7 minutes. Allow the cherry mixture to cool before pouring it over the cheesecake.
Step 7: Serve and Enjoy
Once the cherry topping has cooled, carefully spoon it over the chilled cheesecake. Use a sharp knife to slice the cheesecake into wedges, and serve with a dollop of whipped cream if desired. Enjoy the rich, creamy texture and the burst of fruity flavor with every bite!
Notes
- Room Temperature Ingredients: For a smoother cheesecake, ensure that your cream cheese and eggs are at room temperature before mixing. This helps them incorporate more easily, resulting in a creamier filling.
- Avoid Overmixing: Be careful not to overmix your batter, especially after adding the eggs. Overmixing can introduce too much air, leading to cracks as the cheesecake bakes and cools.
- Baking Tips: If your cheesecake starts to puff up and look overly browned, it may be overbaking. Always check for doneness based on the jiggle method rather than relying solely on time.
Nutrition Information (Per Slice)
- Calories: Approximately 350
- Fat: 22g
- Carbohydrates: 34g
- Protein: 5g
Why You’ll Love This Recipe
- Easy to Make: This easy cherry cheesecake recipe breaks down the process into manageable steps, making it approachable for bakers of all skill levels. With simple ingredients and clear instructions, you’ll feel empowered to create a stunning dessert.
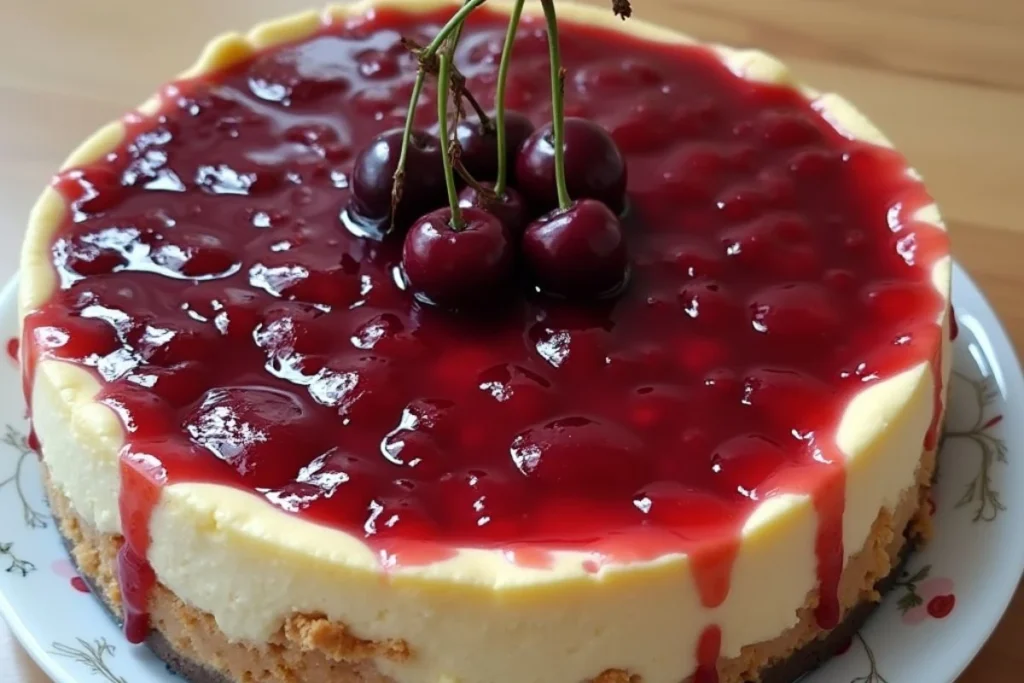
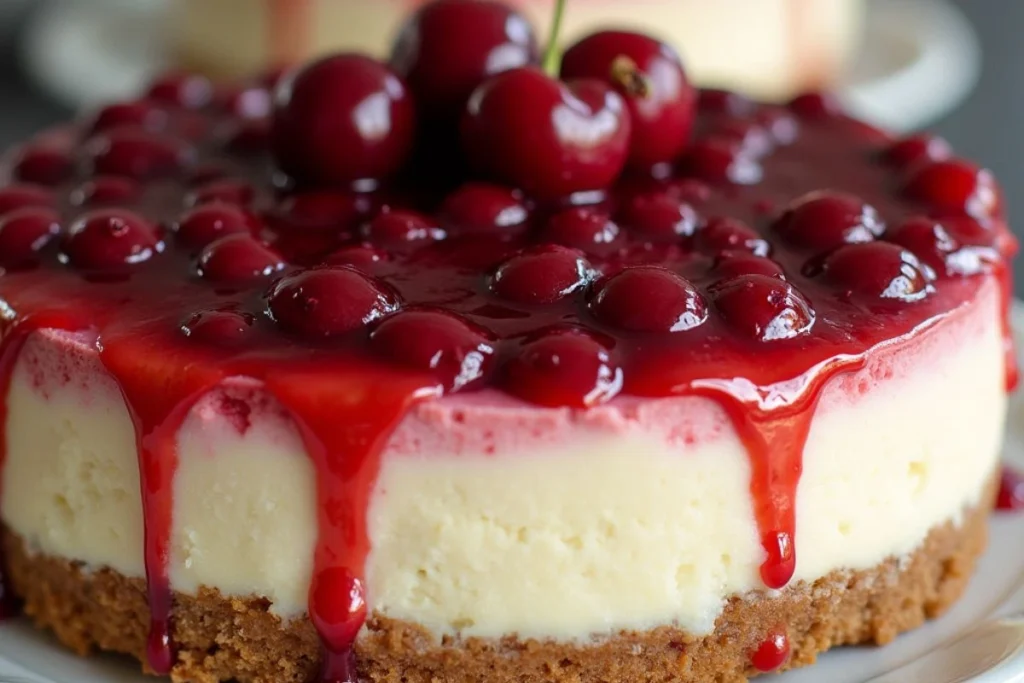
- Impressive Presentation: The vibrant red cherry topping against the creamy white cheesecake makes for an eye-catching dessert that will impress your guests. It’s a showstopper at any gathering!
- Versatile Flavor Combinations: While this recipe focuses on cherries, the cheesecake base is versatile. You can easily swap in your favorite fruits or toppings, making it customizable for any occasion.
- Make-Ahead Option: One of the best aspects of this cheesecake is that it can be made ahead of time. With a chilling period of at least 4 hours (or overnight), you can prepare it in advance, leaving you free to enjoy the event without the stress of last-minute baking.
- Decadent Yet Light: The combination of cream cheese and sour cream results in a rich yet light texture that’s satisfying without being overwhelming. It’s the perfect balance between flavors and textures.
Key Ingredients and Substitutions
Understanding the key ingredients in this cherry cheesecake recipe can enhance your baking experience. Here are some details on the essential components and potential substitutions:
- Cream Cheese: The cornerstone of any cheesecake, providing its rich and creamy texture. If you prefer a lighter option, consider using reduced-fat cream cheese or Neufchâtel cheese, which has less fat but still offers a creamy consistency.
- Sour Cream: This adds tanginess and creaminess to the filling. For a healthier alternative, you can substitute sour cream with Greek yogurt. It will yield a slightly different flavor but will still maintain a creamy texture.
- Graham Cracker Crumbs: The classic base for cheesecake crust, offering a sweet and crunchy contrast to the smooth filling. If you want a gluten-free option, use gluten-free graham crackers or substitute with crushed nuts or almond flour.
- Fresh vs. Canned Cherries: Using fresh cherries allows for more control over the sweetness and flavor. However, canned cherry pie filling is a quick and convenient option. If using fresh cherries, the addition of cornstarch will help thicken the sauce.
- Sugar: Well-ground sugar is the primary sweetener in this recipe. You can experiment with alternatives like coconut sugar or a sugar substitute, but be aware that it may alter the texture and flavor slightly.
How to Make Cherry Cheesecake (Step-by-Step)
Detailed Explanation of Each Major Step
- Prepare Your Kitchen: Before you start, gather all your ingredients and tools. This includes your mixing bowls, measuring cups, and spoons, as well as your springform pan and an electric mixer.
- Make the Graham Cracker Crust: Follow the instructions above to create the crust. Ensure it’s firmly packed in the pan, as this will support the cheesecake once it’s baked.
- Blend the Filling Ingredients: Use a mixer to ensure the cream cheese is smooth before adding the other ingredients. Make sure your cheesecake doesn’t have any lumps by doing this.
- Bake with Care: Monitor your cheesecake as it bakes. While the center should stay slightly jiggly, the edges should be set. This indicates it’s done without being overcooked.
- Cooling Process: Remember to allow the cheesecake to cool slowly in the oven. This step is critical in preventing cracks from forming.
- Chill the Cheesecake: Give your cheesecake plenty of time to chill in the refrigerator. This resting period allows the flavors to meld beautifully.
- Prepare the Topping: Whether using canned or fresh cherries, ensure the topping is ready before serving. If using fresh cherries, cooking them lightly will enhance their natural sweetness.
- Serve: Once the cheesecake is chilled and topped, slice it carefully with a sharp knife. For clean slices, wipe the knife with a damp cloth between cuts.
Expert Tips for Success
- Room Temperature Ingredients: For the best texture, always use room-temperature cream cheese and eggs. This allows for a smoother batter and helps prevent lumps.
- Don’t Rush the Cooling: Allowing the cheesecake to cool gradually in the oven reduces the risk of cracking.
- Use a Water Bath: This method helps maintain a consistent temperature during baking, ensuring even cooking and reducing the chances of cracks.
- Avoid Overbaking: Keep an eye on your cheesecake. It’s better to slightly underbake than overbake. Keep in mind that it will keep getting firmer as it cools.
- Cover Properly: When chilling your cheesecake, make sure to cover it with plastic wrap to prevent it from absorbing any odors from the fridge.
Variations and Customizations
One of the joys of making cheesecake is the ability to customize it to suit your tastes. Here are some creative variations you might consider:
- Berry Medley: Mix different types of berries like strawberries, blueberries, and raspberries into your cherry topping for a vibrant and colorful dessert.
- Chocolate Cherry Cheesecake: Add cocoa powder to the cheesecake batter or use crushed Oreos for the crust to create a chocolatey twist. Top with cherry filling for a delicious contrast.
- Caramel Drizzle: Drizzle warm caramel sauce over the cherry topping for an extra layer of flavor and indulgence.
- Lemon Cherry Cheesecake: Incorporate lemon zest and juice into the cheesecake filling for a refreshing citrus note that pairs beautifully with cherries.
- Mini Cheesecakes: For a fun presentation, consider making mini cheesecakes in muffin tins. Turn the oven down to 200 degrees and bake for 20 to 25 minutes.
Storage and Reheating Instructions
To keep your cherry cheesecake fresh and delicious:
- Refrigerate Leftovers: Store any leftover cheesecake in an airtight container in the refrigerator for up to 5 days.
- Freezing Instructions: If you want to save your cheesecake for later, it can be frozen. Prevent freezer burn by wrapping it tightly in plastic wrap and then foil. Freeze it for a maximum period of three months.
- Thawing: To thaw frozen cheesecake, transfer it to the refrigerator for 24 hours before serving. This gentle thawing method helps maintain its texture.
Serving Suggestions
Pair your cherry cheesecake with complementary flavors and textures:
- Whipped Cream: A dollop of freshly whipped cream adds lightness and richness to each slice.
- Coffee or Tea: Serve alongside a cup of coffee or tea to balance the sweetness and enhance the overall dessert experience.
- Chocolate Shavings: Sprinkle chocolate shavings on top of the cherry cheesecake for a decorative touch and a hint of cocoa flavor.
- Additional Fruit: Fresh cherries or a mixed berry compote can be served on the side for added freshness.
Frequently Asked Questions (FAQs)
1. Can I use a different fruit topping?
Absolutely! While this recipe focuses on cherries, feel free to experiment with other fruits such as blueberries, strawberries, or peaches for a delightful twist.
2. What type of cream cheese should I use?
Full-fat cream cheese is recommended for the best flavor and texture. Avoid low-fat or non-fat options, as they can lead to a less creamy cheesecake.
3. Can I make a no-bake cherry cheesecake?
Yes, there are no-bake versions of cheesecake that use whipped cream and gelatin instead of baking. If you’re interested, let me know!
4. How can I fix cracks in my cheesecake?
Cracks are often caused by overmixing or rapid temperature changes. If cracks do occur, you can cover them with a cherry topping or whipped cream to mask them.
5. Can I use another type of crust?
Certainly! You can experiment with different crusts, such as Oreo, shortbread, or even a nut-based crust for a gluten-free option.
Related Recipes
If you’re a fan of cheesecake, you might also enjoy these recipes:
- Chocolate Chip Cheesecake: A creamy cheesecake filled with chocolate chips and topped with a rich chocolate sauce.
- Lemon Blueberry Cheesecake: A refreshing cheesecake bursting with fresh blueberries and a hint of lemon zest.
- No-Bake Strawberry Cheesecake: A quick and easy dessert that doesn’t require baking, making it perfect for hot summer days.
- Peanut Butter Cheesecake: A rich and decadent cheesecake swirled with creamy peanut butter for a delightful flavor combination.
- Mango Cheesecake: A tropical twist on cheesecake using fresh mango puree and a hint of lime.
Conclusion
The cherry cheesecake recipe is a delightful dessert that combines rich flavors with a stunning presentation. This easy-to-follow recipe ensures that even novice bakers can create a delicious cheesecake that will impress friends and family alike. With the tips and variations provided, you can make this recipe your own and adapt it to your taste preferences.
Whether you’re celebrating a special occasion or simply indulging in a sweet treat, cherry cheesecake is sure to bring smiles to the table. Get ready to bake like never before by gathering all of your ingredients and getting your hands dirty. Once you try this cherry cheesecake, you’ll understand why it remains a beloved dessert for generations.
Click here to learn more about Sophie.
Click here to learn more about the nutritional value of the cherry cheesecake.
Dipping seafood boil sauce recipe here.

