Introduction
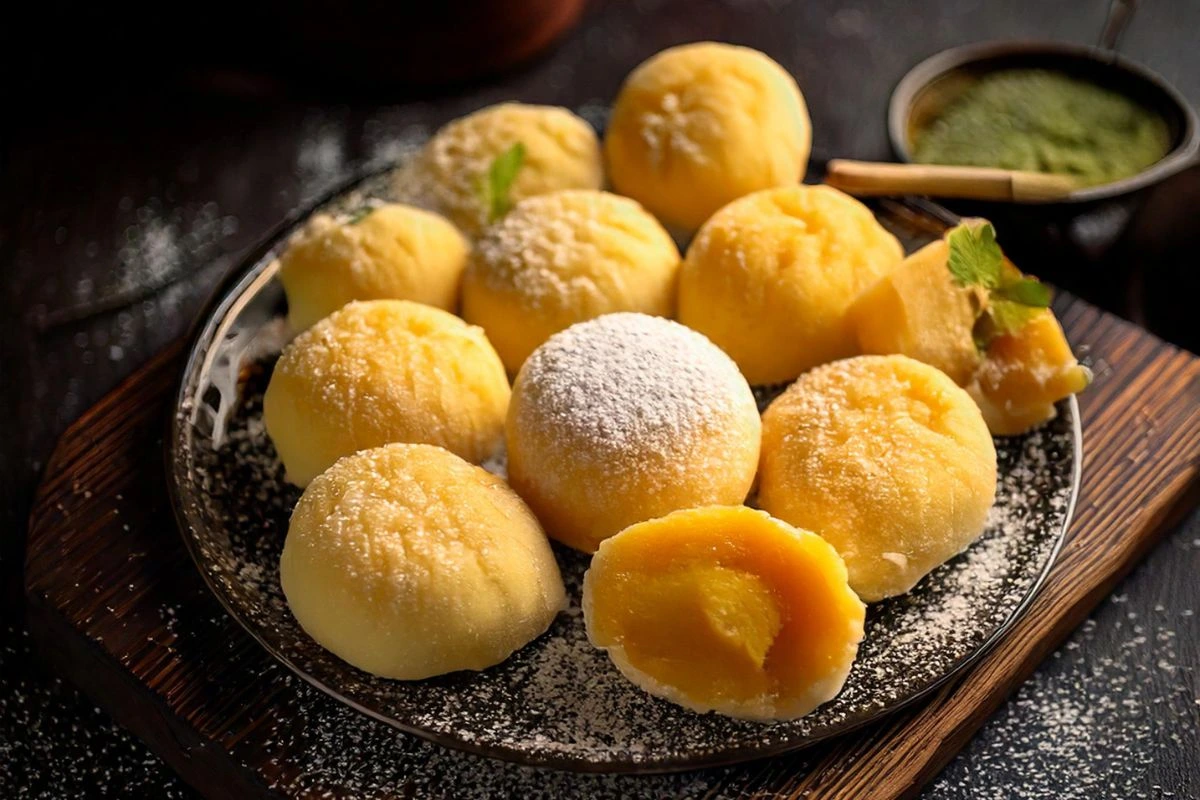
When it comes to desserts, few things can rival the charm of the butter mochi recipe. This delightful treat hails from the beautiful islands of Hawaii, a place renowned for its rich culinary traditions. Imagine biting into a soft, chewy cake that tastes like a slice of paradise, infused with the flavours of coconut and butter and topped with a hint of vanilla. Whether you’re hosting a luau or simply indulging in a sweet treat at home, this butter mochi recipe is bound to impress.
Originating from the melting pot of cultures in Hawaii, butter mochi reflects a blend of influences, primarily Japanese. It is a beloved dessert not only for its unique texture but also for its ability to bring back fond memories of family gatherings and celebrations. In this article, we will explore how to make this traditional Hawaiian dessert from scratch, detailing everything from key ingredients to step-by-step instructions.
Recipe Card
Recipe Name: Hawaiian Butter Mochi Recipe
Description: Butter mochi is a delicious coconut custard glutinous rice cake that is chewy, slightly sticky, and has a hint of vanilla and salt. It’s a popular treat in Hawai‘i and gets even better after a day as the crust transforms into a soft topping.
Prep Time: 20 minutes
Cook Time: 60-70 minutes
Total Time: 1 hour 20 minutes
Servings: 20 pieces
Calories: Approximately 180 per piece (calories may vary)
Ingredients List:
- Unsalted butter (for coating the pan and 1 stick or 8 tablespoons for the recipe)
- One pound of mochiko flour sometimes referred to as sticky or sweet rice flour
- 2 cups granulated sugar
- 2 teaspoons baking powder
- 1/2 teaspoon kosher salt
- 2 cups milk (any fat percentage)
- 4 large eggs
- 2 teaspoons vanilla extract
- 1 can (about 13.5 ounces) of unsweetened coconut milk
- 1/2 cup unsweetened shredded coconut
- A few pinches of flaky salt (optional)
Notes:
Food leftovers can be stored in an airtight container at room temperature for up to three days. For a perfectly chewy texture, bake in a metal pan and adjust the baking time based on the type of pan used.
Nutrition Information
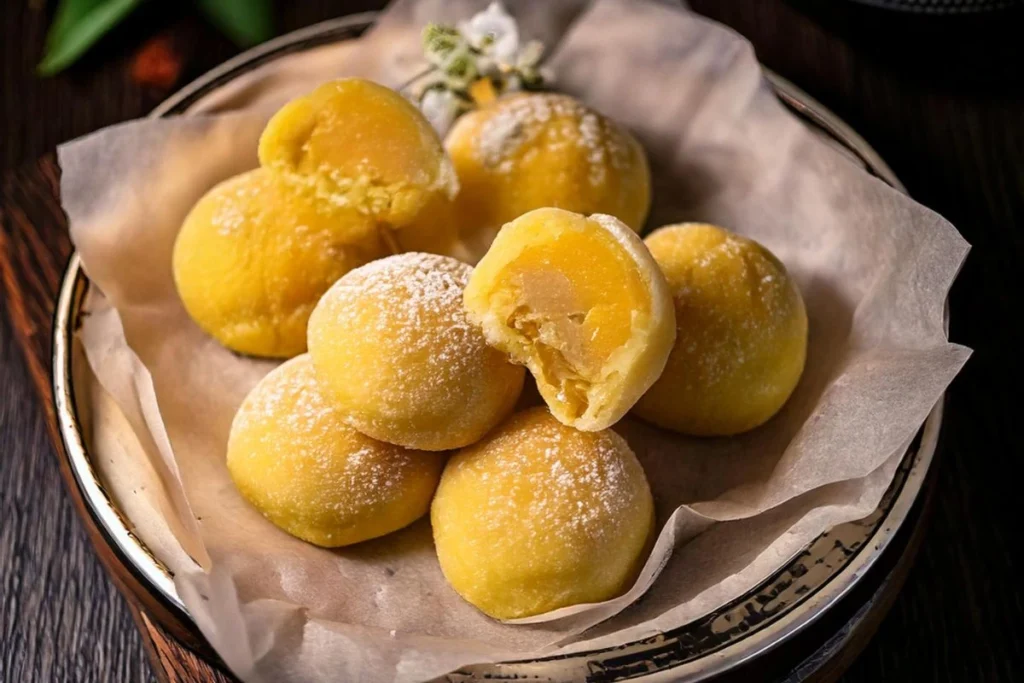
- Serving Size: 1 piece
- Calories: 180
- Sugar: 14g
- Sodium: 80mg
- Fat: 6g
- Saturated Fat: 4g
- Unsaturated Fat: 1g
- Trans Fat: 0g
- Carbohydrates: 29g
- Fiber: 1g
- Protein: 3g
- Cholesterol: 40mg
Why You’ll Love This Butter Mochi Recipe
- Quick and Easy: This butter mochi recipe comes together quickly, making it perfect for a last-minute dessert. With minimal prep time and straightforward steps, anyone can whip this up, even those with limited baking experience.
- Unique Texture: The chewy, custardy consistency of butter mochi is unlike any other dessert. Its dense texture, combined with a slightly sticky exterior, provides a mouthfeel that keeps you coming back for more.
- Customizable: You can easily modify the butter mochi recipe with different flavours or dietary substitutions. Want a chocolatey version? Toss in some cocoa powder. Prefer a fruity twist? Add some ripe bananas or a splash of mango puree to the batter.
- Perfect for Sharing: With 20 pieces, it’s an excellent choice for parties and gatherings. Whether it’s a birthday party, a holiday feast, or just a weekend get-together, this dessert is sure to impress your guests.
- Tastes Better the Next Day: The flavours meld beautifully overnight, enhancing the dessert’s appeal. The chewy texture becomes even softer, making it a fantastic make-ahead dessert.
Key Ingredients and Substitutions
1. Mochiko Flour
This is the star ingredient that gives butter mochi its chewy texture. Mochiko flour, or sweet rice flour, is gluten-free and should not be substituted with regular flour. It plays a crucial role in achieving the signature chewiness of this dish. If you can’t find mochiko flour at your local store, you may be able to find it at Asian grocery stores or online.
2. Coconut Milk
Unsweetened coconut milk adds a rich flavour. This ingredient is vital for creating that authentic Hawaiian taste. You can substitute it with almond milk or any other non-dairy milk if you prefer a lighter version, but keep in mind that the flavour profile will change slightly.
3. Eggs
These provide moisture and help bind the ingredients together. For a vegan alternative, use flax eggs (1 tablespoon ground flaxseed mixed with 2.5 tablespoons water, let sit for 5 minutes) or applesauce as a substitute.
4. Unsweetened Shredded Coconut
This ingredient gives a delightful texture and flavour. If you don’t have it, you can omit it or use sweetened coconut for a different taste. The shredded coconut also contributes to the appealing crust of the finished product, so if you want to maintain the traditional look, it’s best to include it.
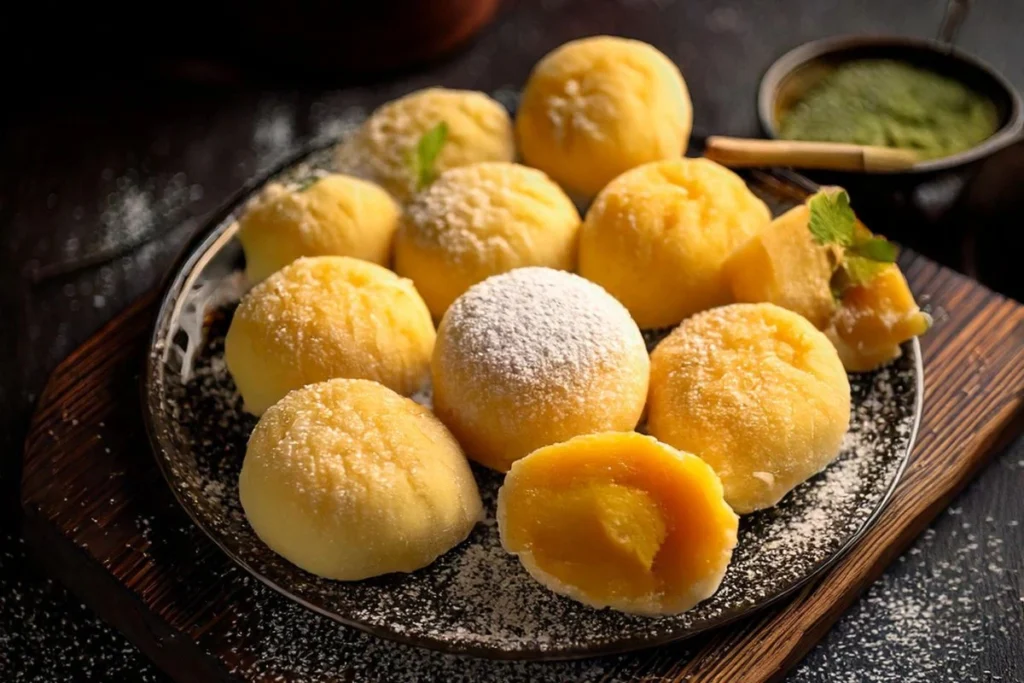
How to Make Hawaiian Butter Mochi Recipe (Step-by-Step)
Step 1: Preheat and Prepare the Pan
Begin by preheating your oven to 350°F (175°C). While the oven is heating, coat a 9×13-inch baking pan with unsalted butter or vegetable oil to prevent sticking. This step is essential, as it will ensure that your butter mochi recipe comes out of the pan easily once baked.
Step 2: Melt the Butter
On the stovetop or in the microwave, melt 1 stick (8 tablespoons) of unsalted butter. Make sure not to let it boil; just melt it enough to become liquid. While you prepare the other ingredients, let them cool slightly.
Step 3: Mix the Dry Ingredients
In a large mixing bowl, combine 1 pound of mochiko flour, 2 cups of granulated sugar, 2 teaspoons of baking powder, and 1/2 teaspoon of kosher salt. Whisk together until evenly mixed. This step is crucial for ensuring that all the dry ingredients are distributed evenly throughout the batter.
Step 4: Combine Wet Ingredients
In a separate bowl, whisk together 2 cups of milk, 4 large eggs, and 2 teaspoons of vanilla extract until well blended. This mixture adds moisture and flavour to your butter mochi recipe. Once combined, add the melted butter and 1 can (about 13.5 ounces) of unsweetened coconut milk, mixing until fully incorporated.
Step 5: Combine Wet and Dry Ingredients
Using a wooden spoon, mix the dry ingredients thoroughly with the liquid mixture. The batter will be somewhat thick but smooth. This is where the magic begins, as the ingredients start to come together to create a luscious batter.
Step 6: Pour into the Pan
Pour the batter into the prepared baking pan. To eliminate air bubbles, gently rap the pan on the countertop a few times. This is an important step that helps to prevent any large air pockets from forming during baking, which can affect the texture of the butter mochi recipe.
Step 7: Add Coconut Topping
Evenly sprinkle 1/2 cup of unsweetened shredded coconut over the top of the batter. If desired, add a few pinches of flaky salt for an extra flavour boost. The coconut topping not only adds flavour but also enhances the dessert’s visual appeal.
Step 8: Bake
Bake in the preheated oven for 60 to 70 minutes or until the top is set and golden brown. If you put a toothpick in the middle of the butter mochi, it should come out clean. Keep an eye on your butter mochi recipe during the last few minutes of baking, as ovens can vary.
Step 9: Cool and Slice
Once baked, remove the pan from the oven and let it cool on a wire rack for about 1 hour. This cooling period allows the butter mochi recipe to firm up, making it easier to slice. Once cooled, slice into 20 equal pieces using a plastic knife to prevent sticking. A plastic knife works wonders for cutting through the sticky texture without tearing the mochi.
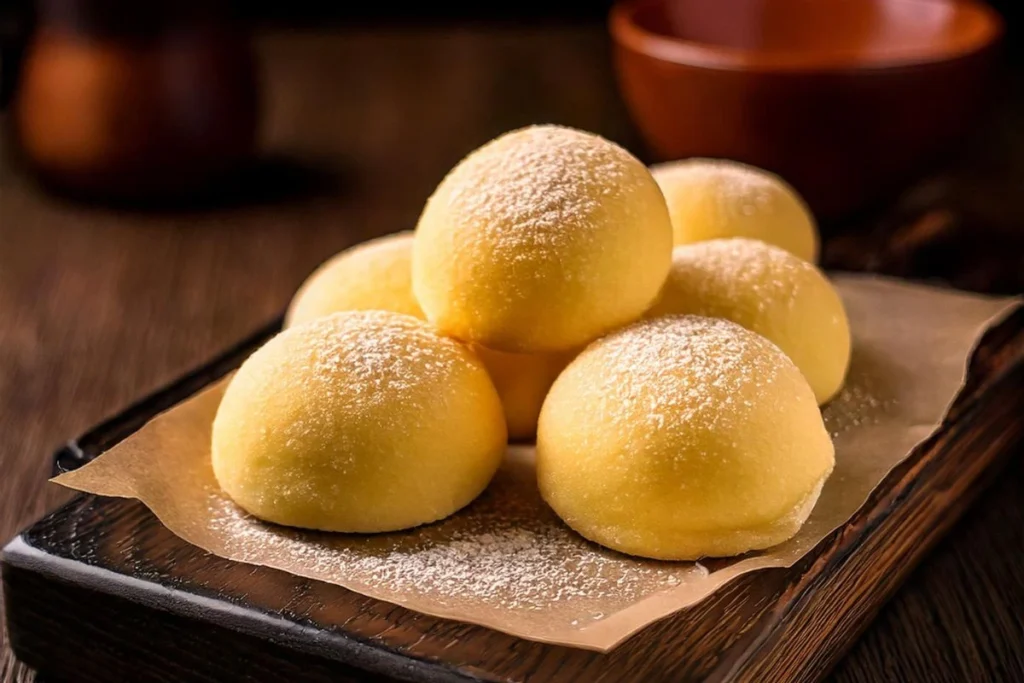
Expert Tips for Success
- Don’t Overmix: Unlike traditional cake recipes, you don’t need to worry about gluten development with mochiko flour, so feel free to mix well. However, it’s important not to overdo it, as too much mixing can incorporate excess air. You want a smooth, even batter without lumps, which will give you a better texture in your finished product.
- Use a Metal Pan: A metal pan helps achieve a crispy top while baking. If you’re using glass, reduce the baking time slightly. Glass pans can retain heat and may lead to overcooking if you’re not careful. If you notice that your butter mochi recipe is browning too quickly on top, you can cover it loosely with aluminium foil to prevent it from burning.
- Cool Completely: Allowing the butter mochi recipe to cool completely will help it set and make slicing easier. If you slice it while it’s still warm, it may fall apart, ruining the perfect presentation. Cooling on a wire rack is ideal as it promotes even cooling and prevents the bottom from becoming soggy.
- Use the Right Tools: A plastic knife or a silicone spatula works best for cutting butter mochi. If you find your knife sticking, rub it with a little unsalted butter or oil to create a barrier. This will make it easier to cut clean pieces without tearing.
Variations and Customizations
1. Flavored Butter Mochi recipe
Feel free to experiment with flavours! You can add cocoa powder for a chocolate version or incorporate ube (purple yam) for a vibrant twist. Here are some suggestions:
- Chocolate Butter Mochi: Add 1/2 cup cocoa powder to the dry ingredients and reduce the sugar slightly for a richer, chocolatey flavour.
- Ube Butter Mochi: Mix in 1 cup of ube puree (available in Asian grocery stores) to give your butter mochi a beautiful purple colour and a unique taste.
- Matcha Butter Mochi: For a green tea twist, add 2 tablespoons of matcha powder to the dry ingredients. The earthy flavour of matcha pairs beautifully with the sweetness of the butter mochi.
2. Dietary Modifications
For a gluten-free option, ensure all your ingredients are certified gluten-free. You can also make a dairy-free version by using plant-based butter and milk. Here are some alternatives:
- Plant-Based Milk: Substitute regular milk with almond milk, soy milk, or oat milk for a dairy-free version.
- Vegan Butter: Use vegan butter in place of unsalted butter to make the recipe fully plant-based.
- Sugar Alternatives: For a healthier twist, consider using coconut sugar or a sugar substitute suitable for baking.
Storage and Reheating Instructions
To keep your butter mochi recipe fresh, store any leftovers in an airtight container at room temperature for up to three days. Avoid refrigerating it, as this can alter the texture and make it too firm.
If you want to enjoy it warm, simply reheat individual pieces in the microwave for about 10-15 seconds. Alternatively, you can warm them in a conventional oven at a low temperature (around 300°F or 150°C) for about 5-10 minutes until heated through. This will restore some of its original softness without drying it out.
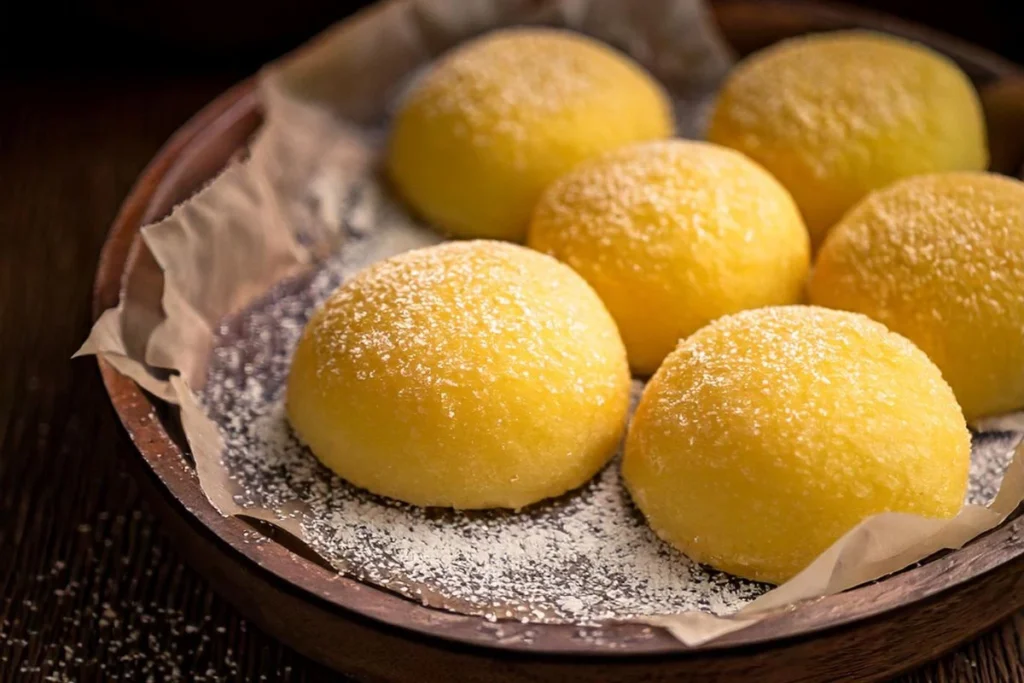
Serving Suggestions
The butter mochi recipe is delicious on its own, but you can elevate your dessert experience by pairing it with:
- Fresh Tropical Fruits: Serve with slices of fresh pineapple, mango, or papaya for a refreshing contrast. The acidity of the fruits balances the sweetness of the butter mochi.
- Coconut Ice Cream: A scoop of coconut ice cream pairs wonderfully with the chewy texture of the butter mochi, creating a delightful contrast of temperatures.
- Whipped Cream: Top your butter mochi recipe with whipped cream and a sprinkle of toasted coconut for added flavour and visual appeal.
Frequently Asked Questions (FAQs)
Q: What is butter mochi?
A: Butter mochi is a traditional Hawaiian dessert made from glutinous rice flour, butter, and coconut milk, resulting in a chewy and custardy cake. It’s often enjoyed at family gatherings and celebrations due to its delightful texture and flavour.
Q: Can I make butter mochi maken in advance?
A: Yes! The butter mochi recipe tastes even better the next day as the flavours meld together. You can arrive one day before your event. To keep it fresh, just be sure to store it correctly.
Q: What should I do if my butter mochi is too sticky?
A: If your butter mochi recipe is too sticky, it may need a bit more time in the oven. Allow it to bake until it is set and the top is golden brown. If it still feels too sticky after cooling, it might need to be sliced thinner or allowed to cool longer before slicing.
Q: Can I freeze butter mochi?
A: Yes, you can freeze the butter mochi recipe! Place each piece in an airtight container after carefully wrapping it in plastic wrap. For up to three months, they can be frozen. When you’re ready to enjoy them, let them thaw at room temperature or warm them up in the microwave for a few seconds.
Q: What is the best way to serve butter mochi?
A: The butter mochi recipe is best served at room temperature. You can serve it as is, or add toppings like whipped cream or fresh fruit to enhance the experience.
Related Recipes
If you enjoyed this butter mochi recipe, you might also like:
- Ube Butter Mochi: A colourful twist on the classic, featuring ube for a unique flavor and presentation. This version brings a beautiful purple hue and a subtly sweet taste.
- Hawaiian Coconut Cake: Another tropical treat that captures the essence of Hawaiian flavours. This cake is ideal for any occasion because it is fluffy and airy.
- Mochi Ice Cream: A delightful dessert combining chewy mochi with creamy ice cream. It’s a fun and refreshing way to enjoy the flavours of mochi in a new form.
Conclusion
Now that you have the ultimate butter mochi recipe, it’s time to roll up your sleeves and get baking! This chewy delight is sure to be a hit at any gathering, bringing a taste of Hawaii to your kitchen. Whether enjoyed fresh out of the oven or after a day of rest, the butter mochi recipe offers a unique dessert experience that everyone will love. So gather your ingredients, follow the steps, and savour the joy of this traditional Hawaiian treat.
If you find yourself with leftover butter mochi, don’t worry—it tastes even better the next day! The flavours deepen, and the texture becomes more harmonious. So, whether you’re serving it for a special occasion or just treating yourself on a casual day, this butter mochi recipe will never disappoint. Happy baking!
Click here to learn more about Sophie.
Click here to learn more about the nutritional value of the butter mochi recipe.
Best turkey wings recipe here.

